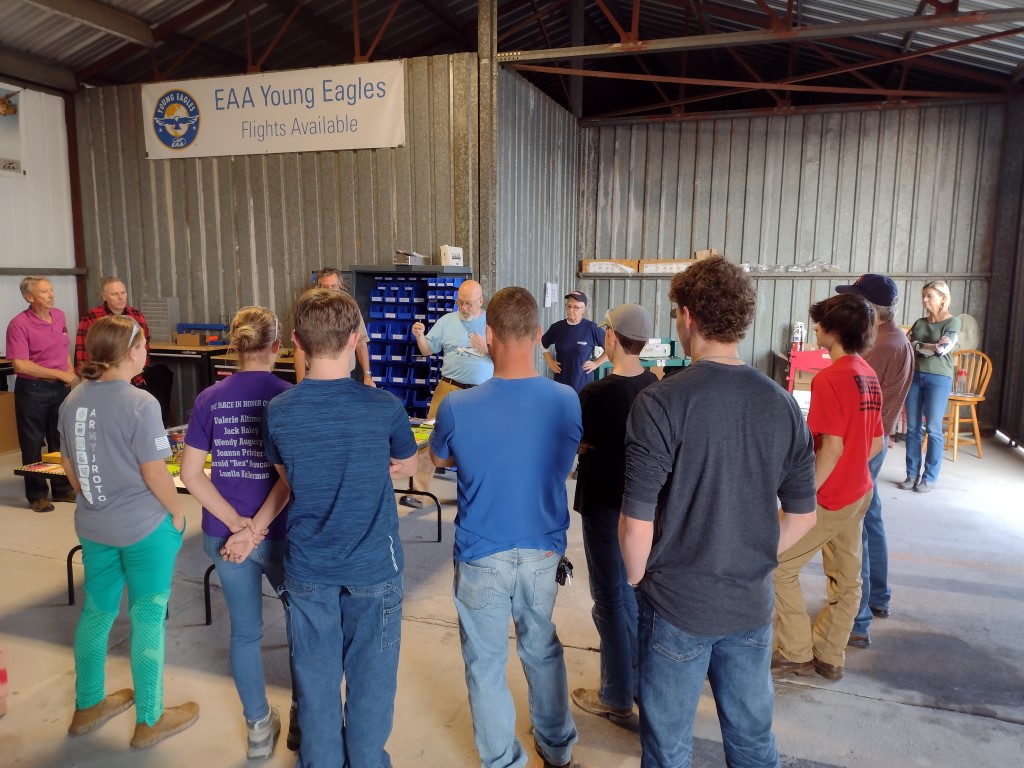
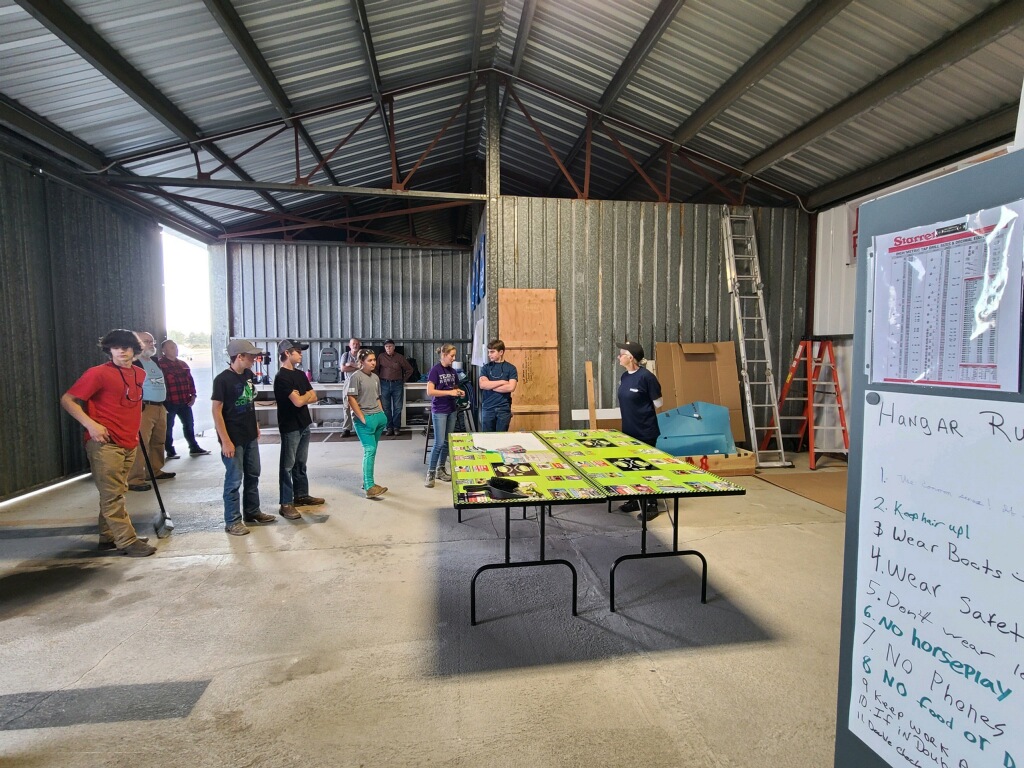
2023 RV-12iS Build Update November 16, 2023: At the end of the session, students received thumb drives containing section plans and supplemental reference materials, along with assigned homework for the next build day. We also reinforced the importance of logging build hours and initialing completed tasks on the plans. To further emphasize safety, students identified and documented the safety concerns most important to them, which were posted on the parts bin as a constant reminder. December 7, 2023: We were also pleased to host students from TCAT and their instructor, Steve, who shared insights into their A&P program and related career paths. Our students discussed their own experience building toolboxes and how that prepared them for the RV project. Steve concluded with a short presentation on the importance of accurate documentation and best practices to ensure compliance with FAA standards. December 14, 2023: Group 1 then riveted the ribs to the rear spar, while Group 2 removed protective plastic from the stabilizer main and forward skins. The forward skin was final-drilled and dimpled, and the main skin was dimpled and fitted with 18 nutplates. After Group 1 finished the stabilizer skeleton and attached the upper and lower hinge assemblies, the main skin was stretched over the skeleton and preassembled with clecos. December 21, 2023: We also had the pleasure of meeting Jim, a retired American Airlines pilot visiting the area. He shared how a flight at age nine near Johnson City sparked his lifelong passion for aviation. Jim later took his private pilot check ride with the legendary “Mama Bird,” Evelyn Bryan Johnson, whose tribute stands at the entrance to Morristown Regional Airport—a fitting reminder of aviation’s enduring legacy and inspiration.
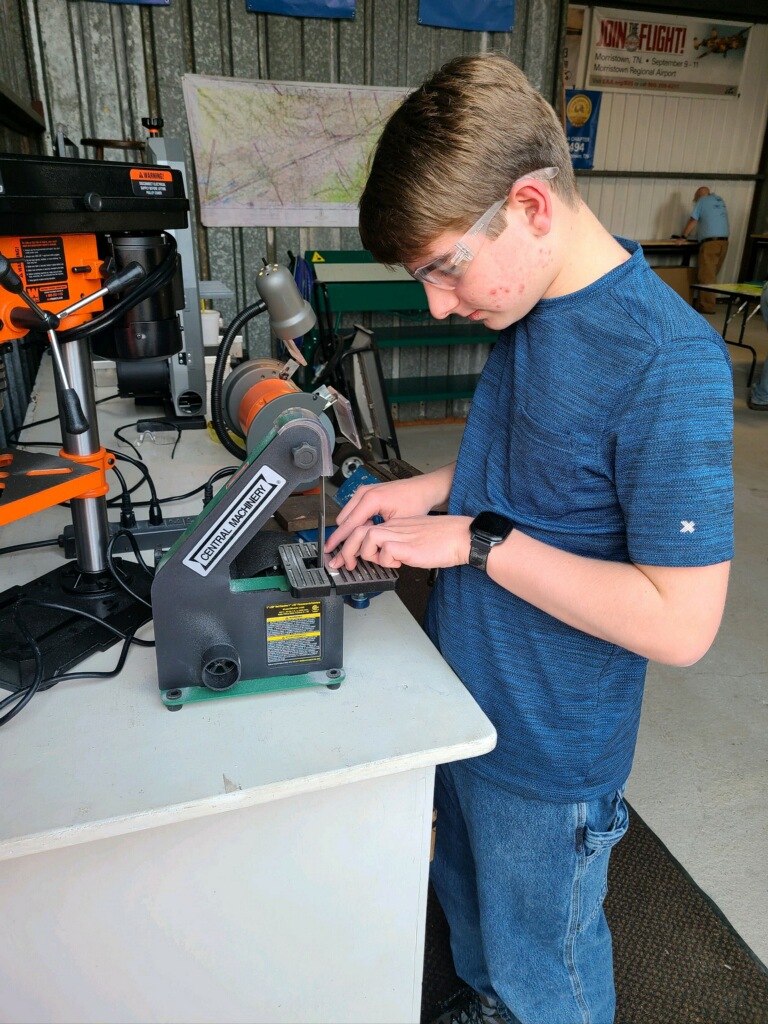
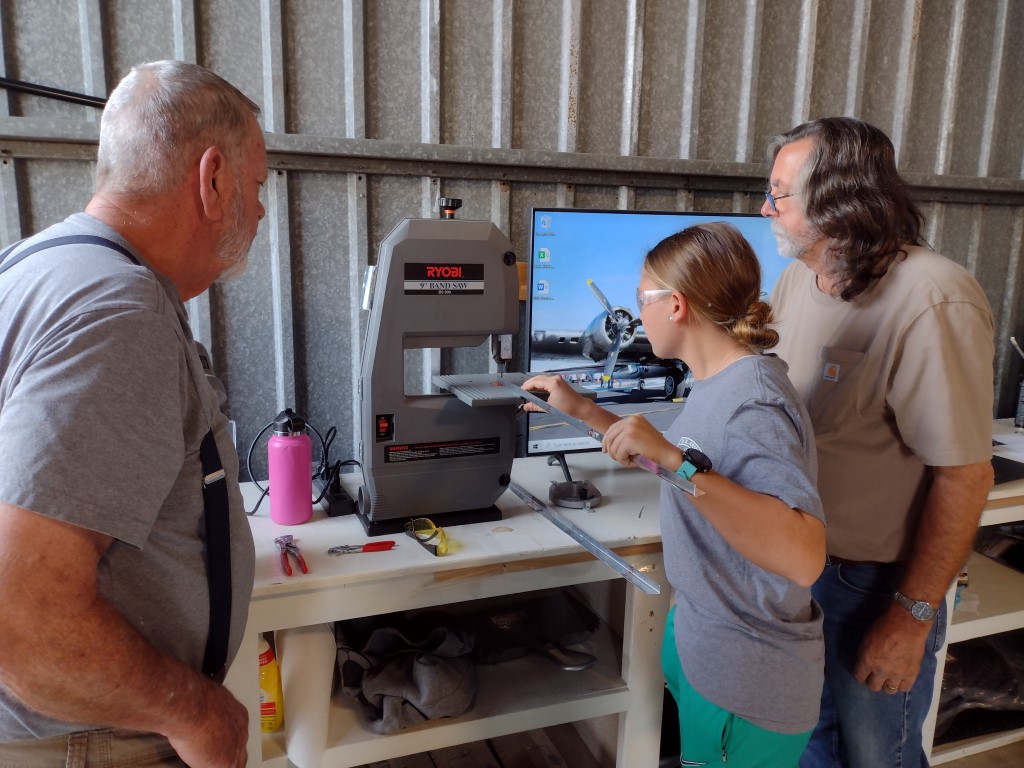
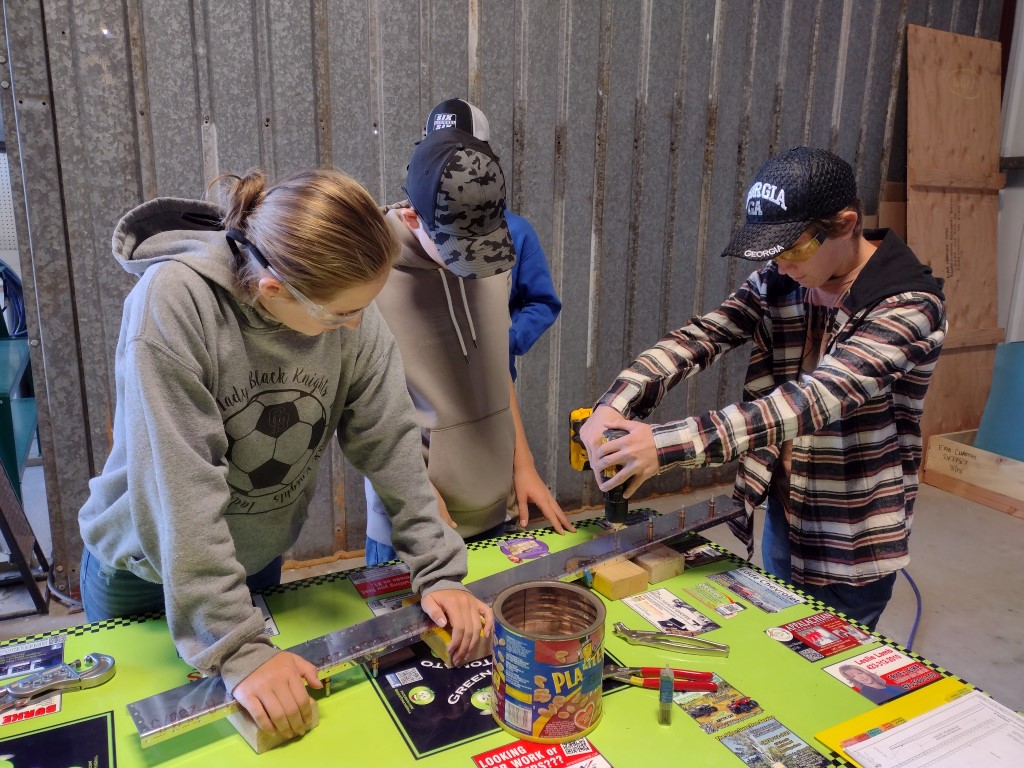
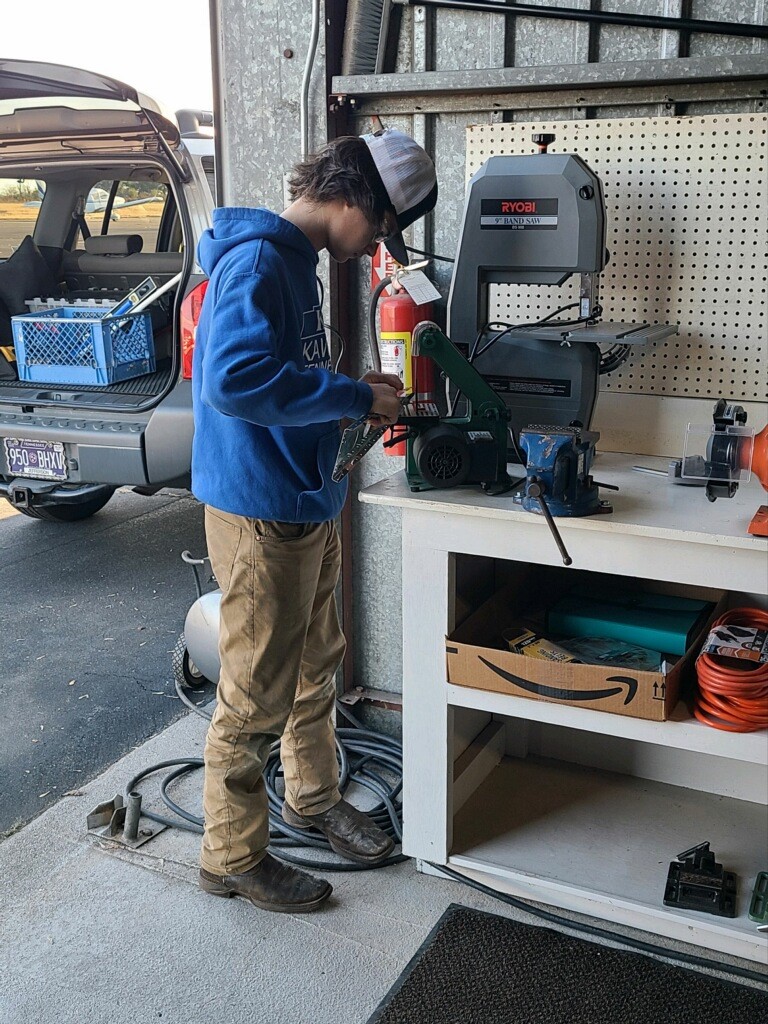
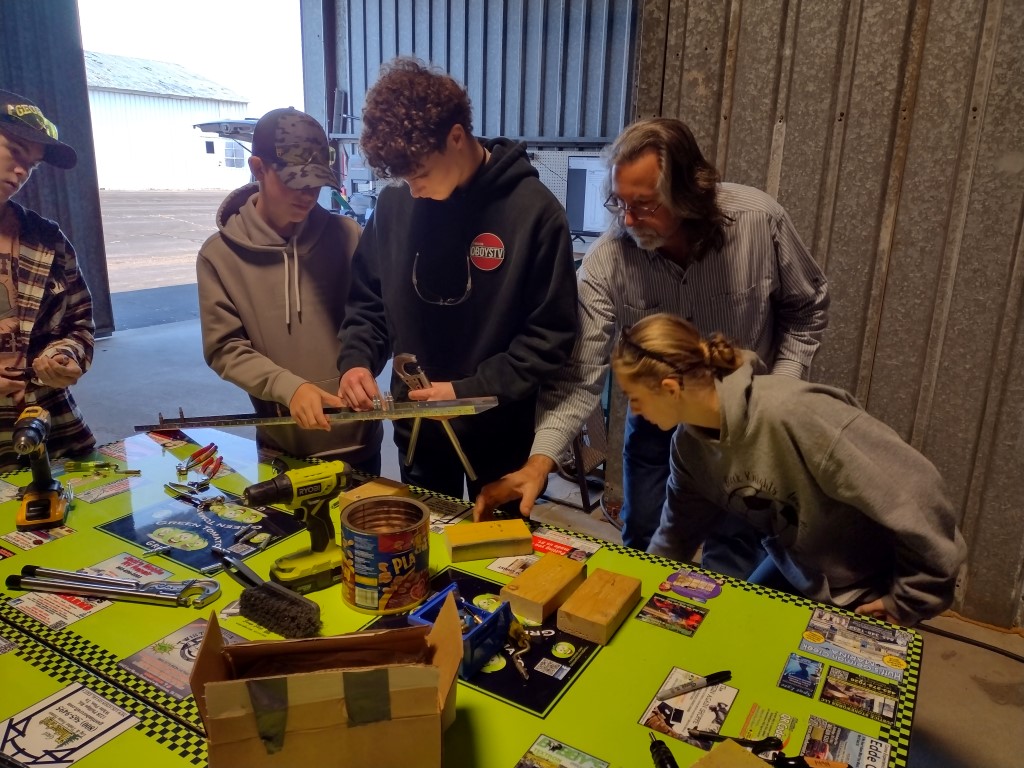
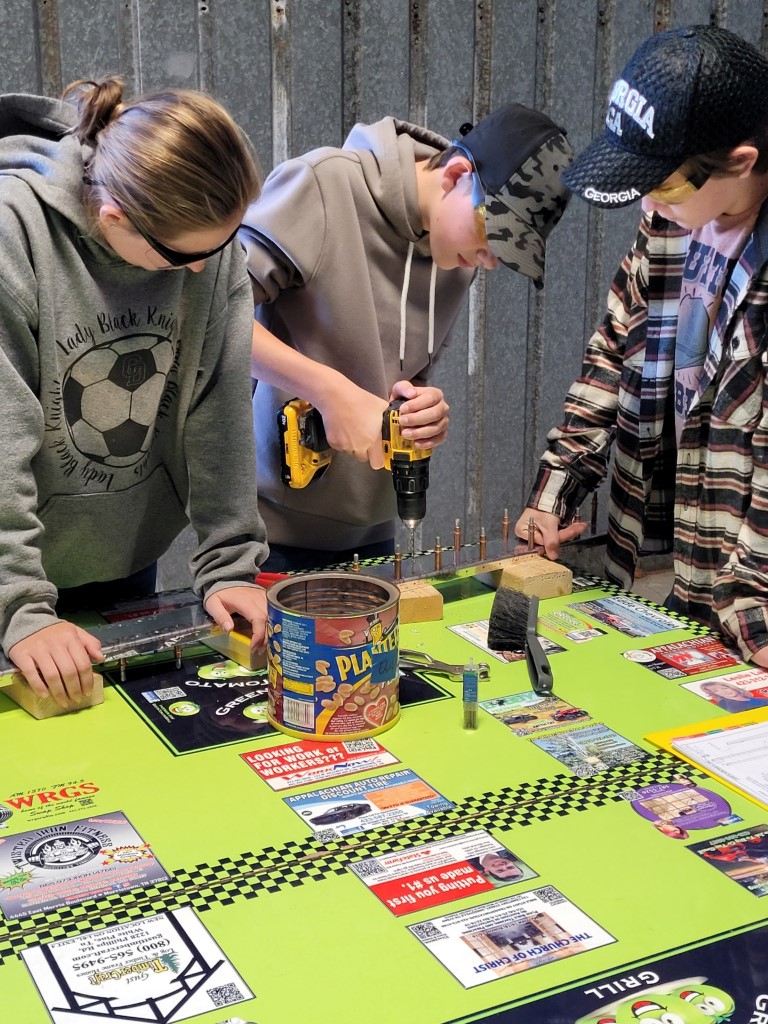
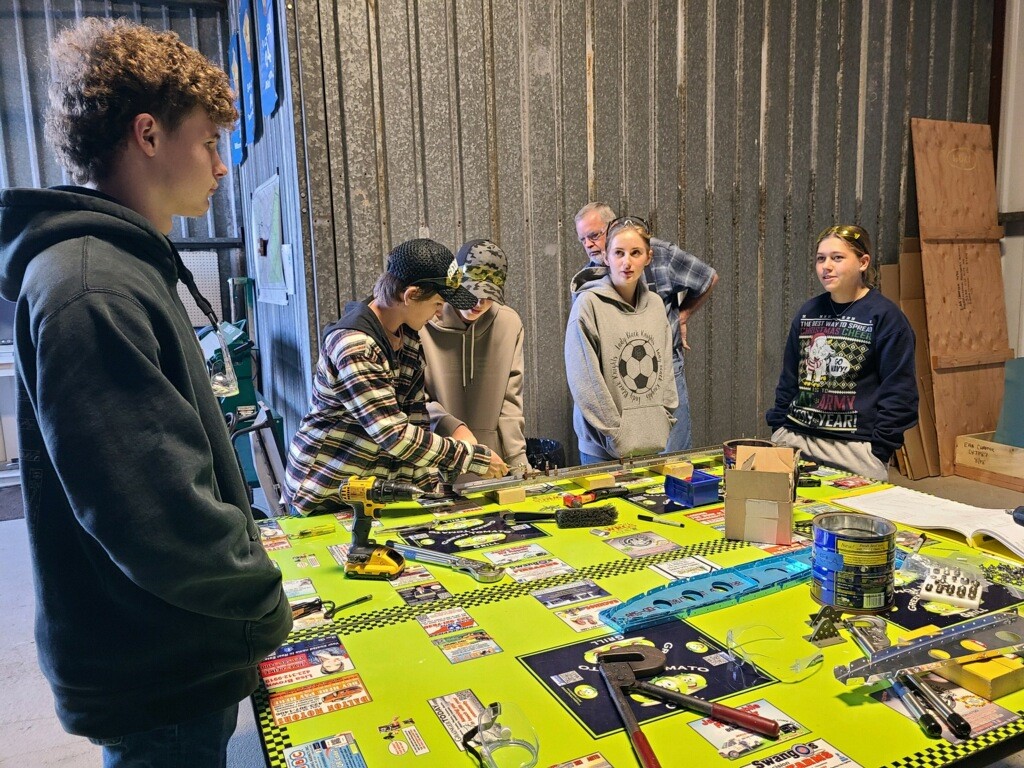
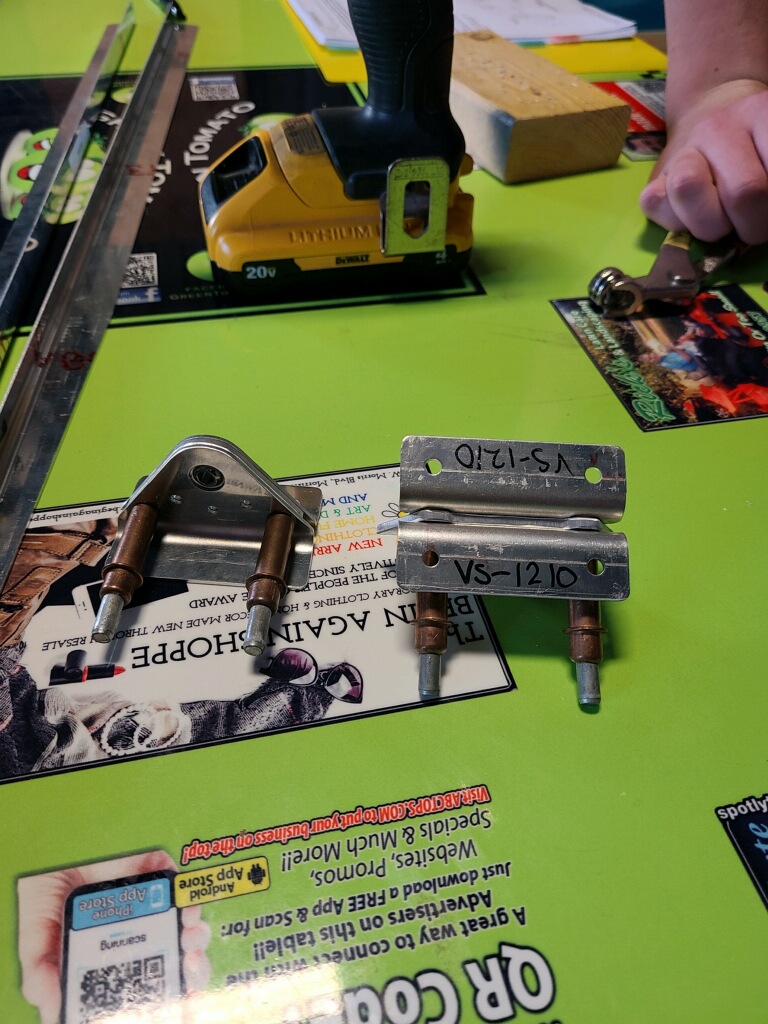
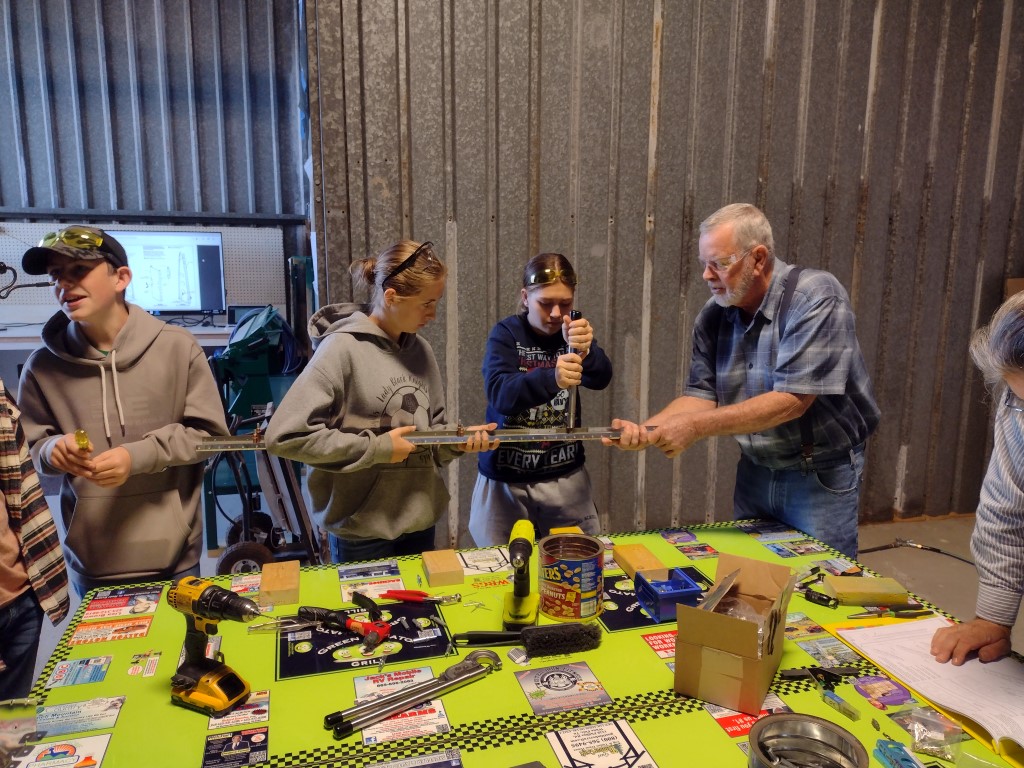
We launched our first hands-on fabrication and assembly session for the RV-12iS, beginning with small components from Section 6: Vertical Stabilizer. Students worked across multiple stations, gaining practical experience in tool fabrication, component preparation, and subassembly. One station focused on fabricating a custom “wedge tool” to aid in aligning the rivet tool and blind rivets during installation. At another, hinge brackets were separated and deburred using the bandsaw, Scotch-Brite wheel, and belt sanders, then cleco-assembled with their respective bearings and spacers to form the upper and lower rudder hinges. A third station began similar separating, drilling, trimming, and deburring work on the vertical fin rear spar and lower spar caps.
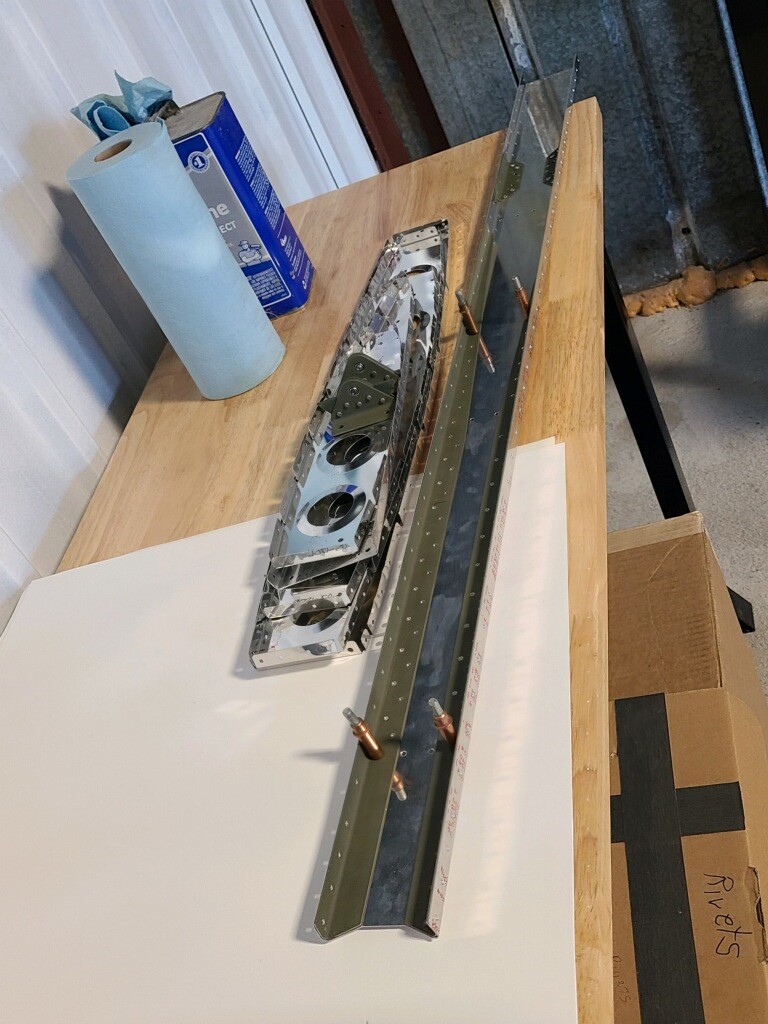
After a short break for Thanksgiving, we resumed work on Section 6. One group completed the upper and lower hinge assemblies by riveting bearings, spacers, and hinge brackets together using squeezed rivets. Another group continued match-drilling, deburring, and pre-assembling the rear spar and the left and right upper and lower spar caps with clecos. Holes for flush rivets were machine-countersunk in the front and rear spars and spar caps, followed by installation of nutplates using countersunk-head squeezed rivets. All ribs were deburred, and the spars and ribs were pre-assembled with clecos to verify proper fit.
The rib-to-spar preassembly from the prior session was disassembled, and students again divided into two groups. Group 1 completed riveting the spar caps to the rear spar. Group 2 began work on the four vertical stabilizer ribs, forming the leading-edge radius and fluting where needed to ensure straightness and proper fit to the skin.
Riveting of the main skin to the skeleton began. For every cleco removed, one pulled rivet was installed. Teams worked in coordinated roles—one student removing clecos, another installing rivets with a pneumatic puller, and two others checking skin alignment to ensure proper installation. Approximately 120 rivets were installed over the course of the day. Students who completed their tasks early began preliminary work on rudder components in preparation for the next session.
-
Laying out the "Wedge Tool" November 16, 2023 -

Drilling the #40 holes November 16, 2023 -

Deburring the "Wedge Tool" November 16, 2023 -
Deburring the upper and lower rudder hinge brackets November 16, 2023 -
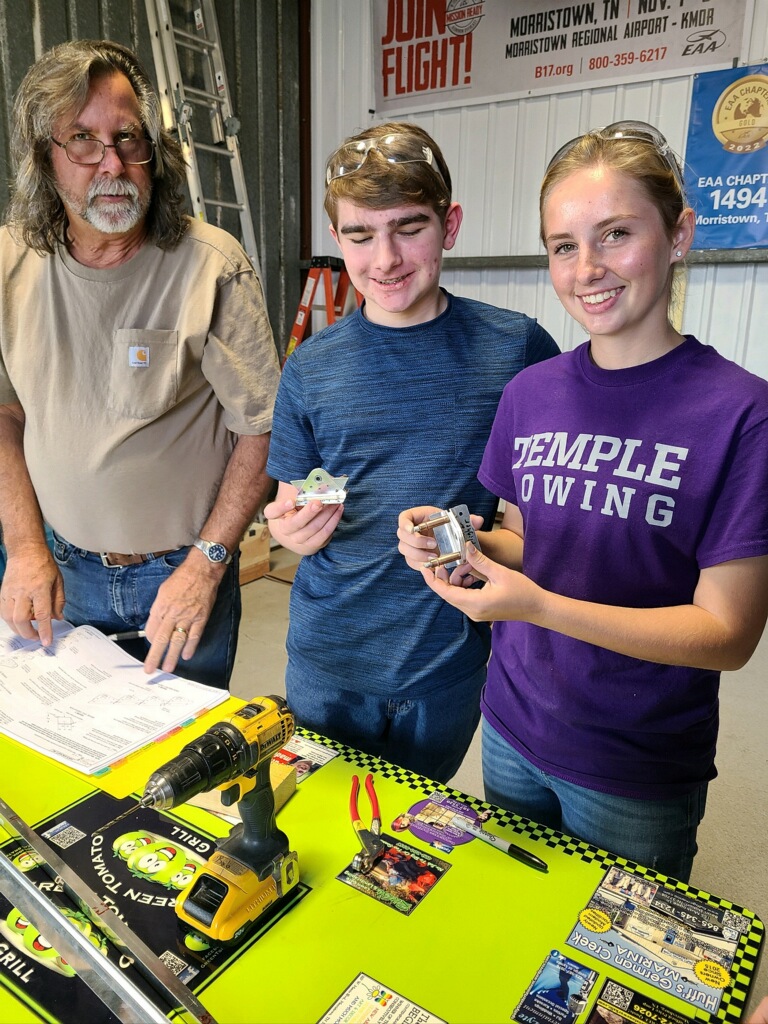
Rudder hinge pre-assembly team November 16, 2023 -
-

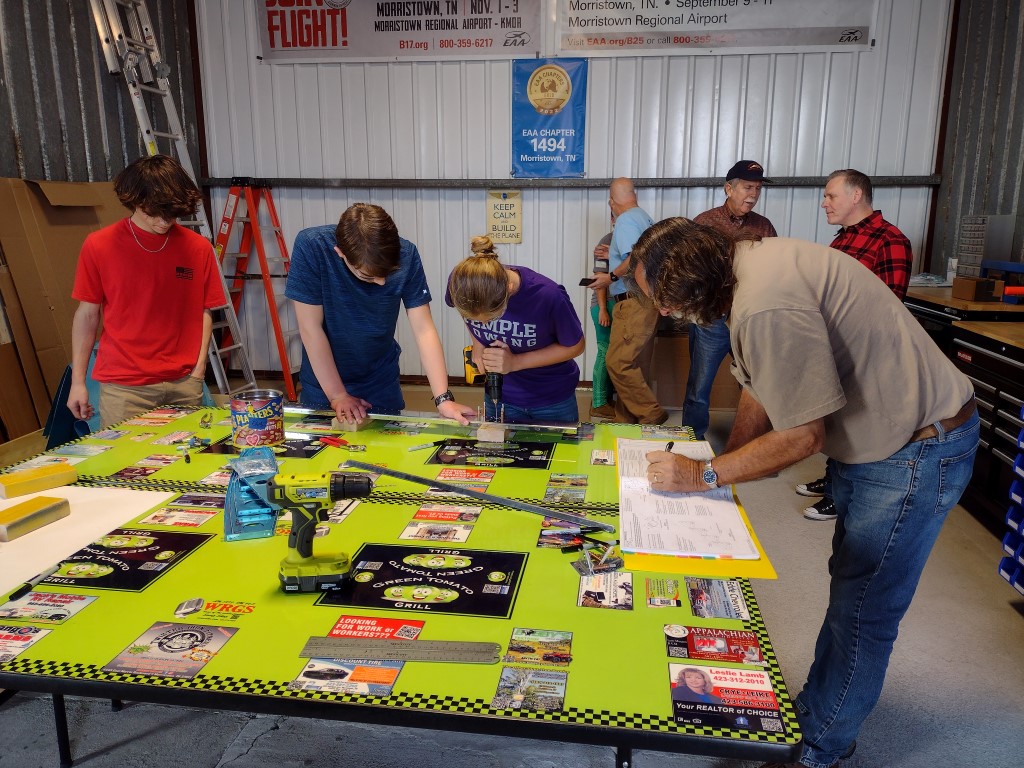
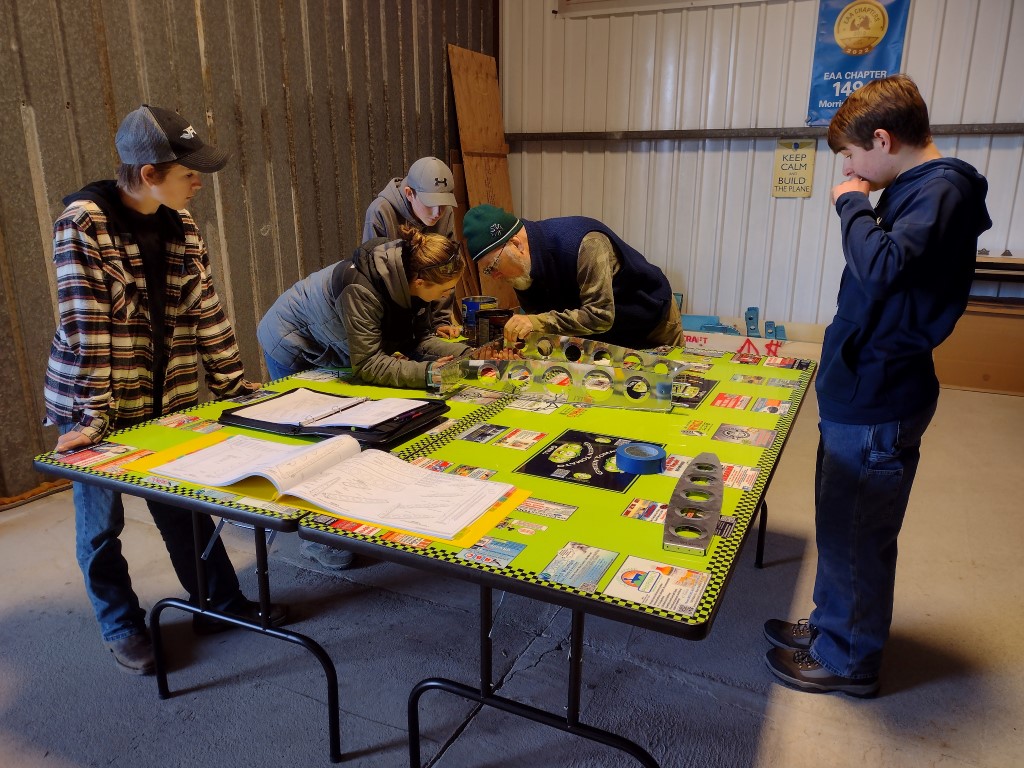
Planning and tracking team November 16, 2023 -

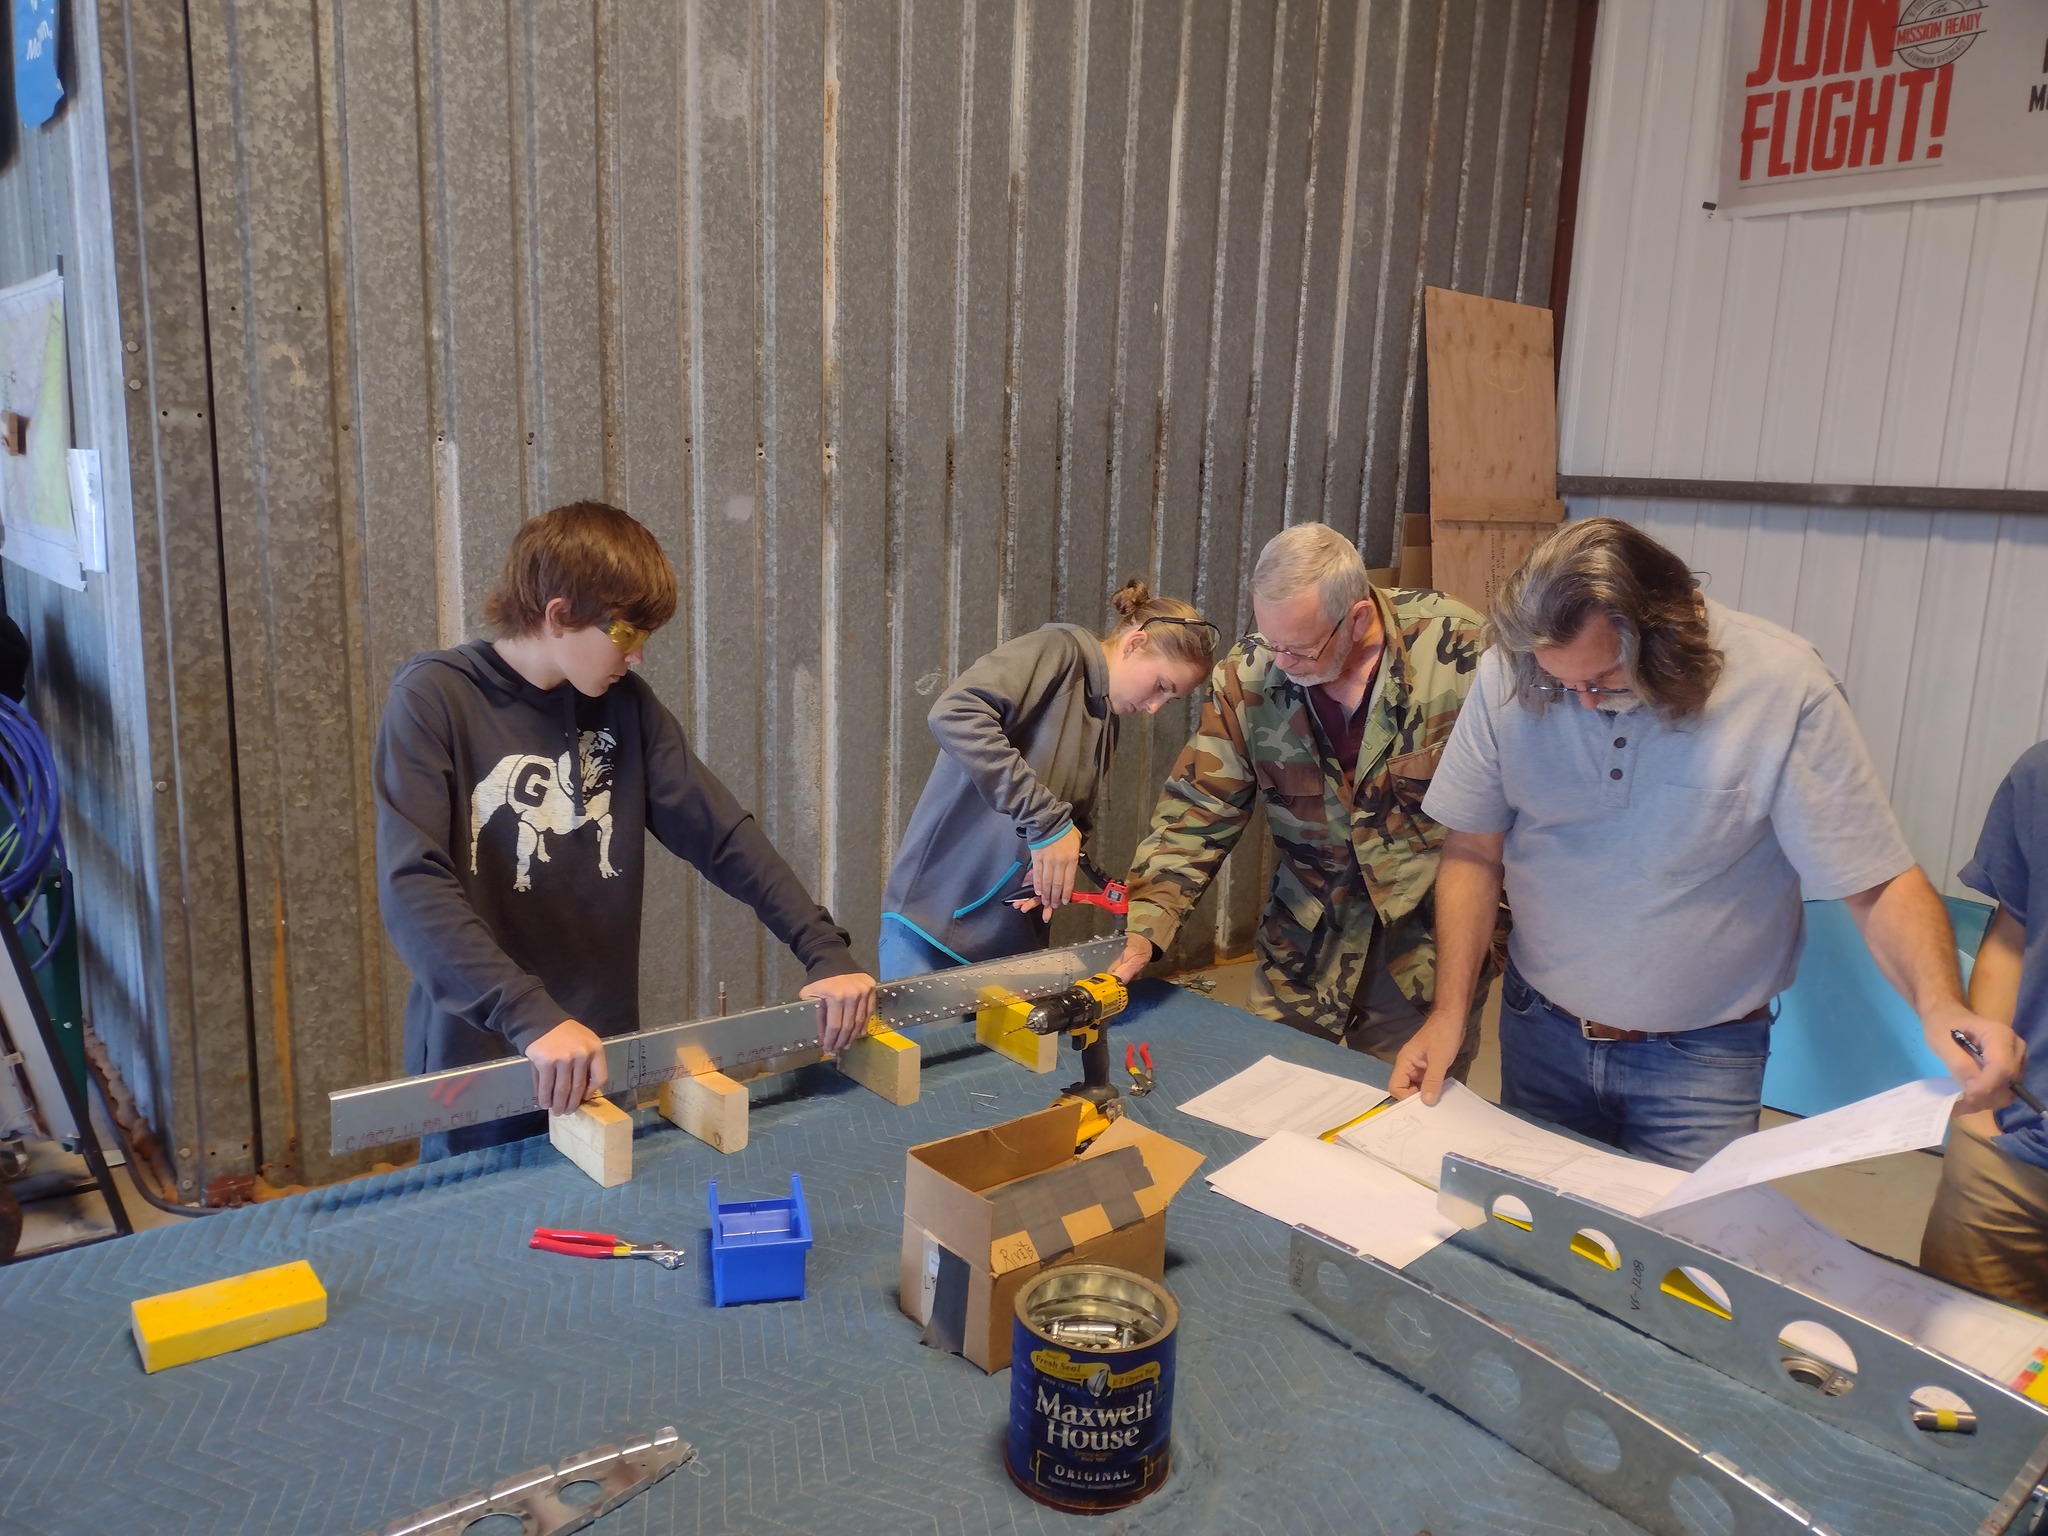
Drilling the vertical fin rear spar November 16, 2023 -

Cutting the lower rear spar caps November 16, 2023 -

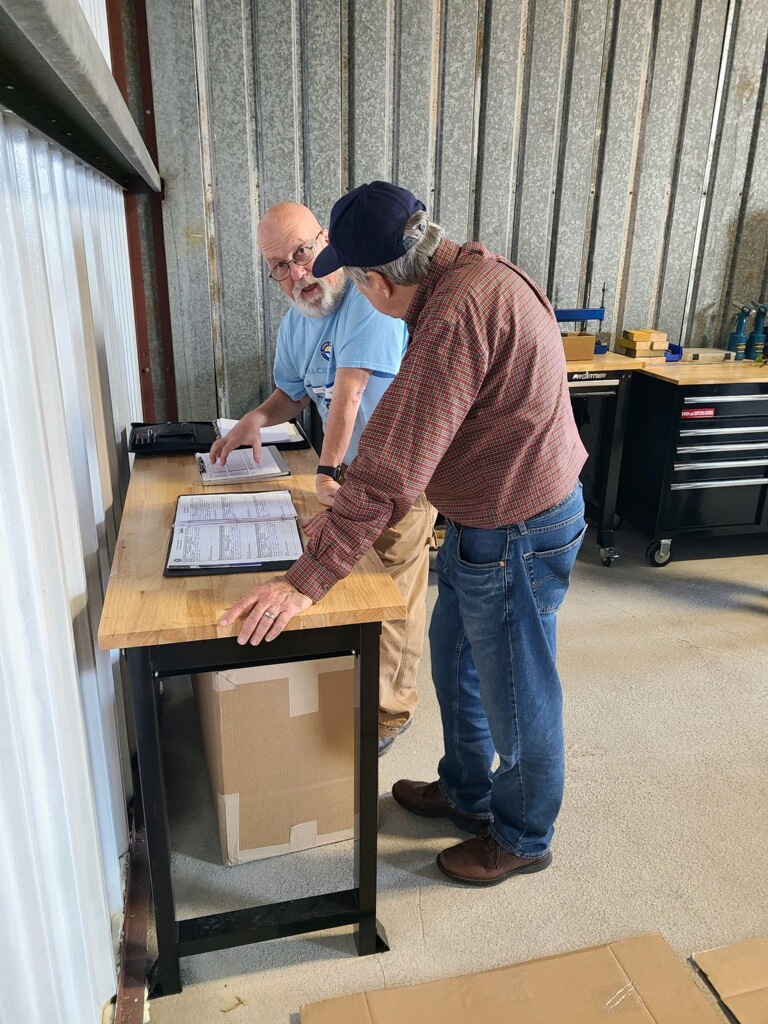
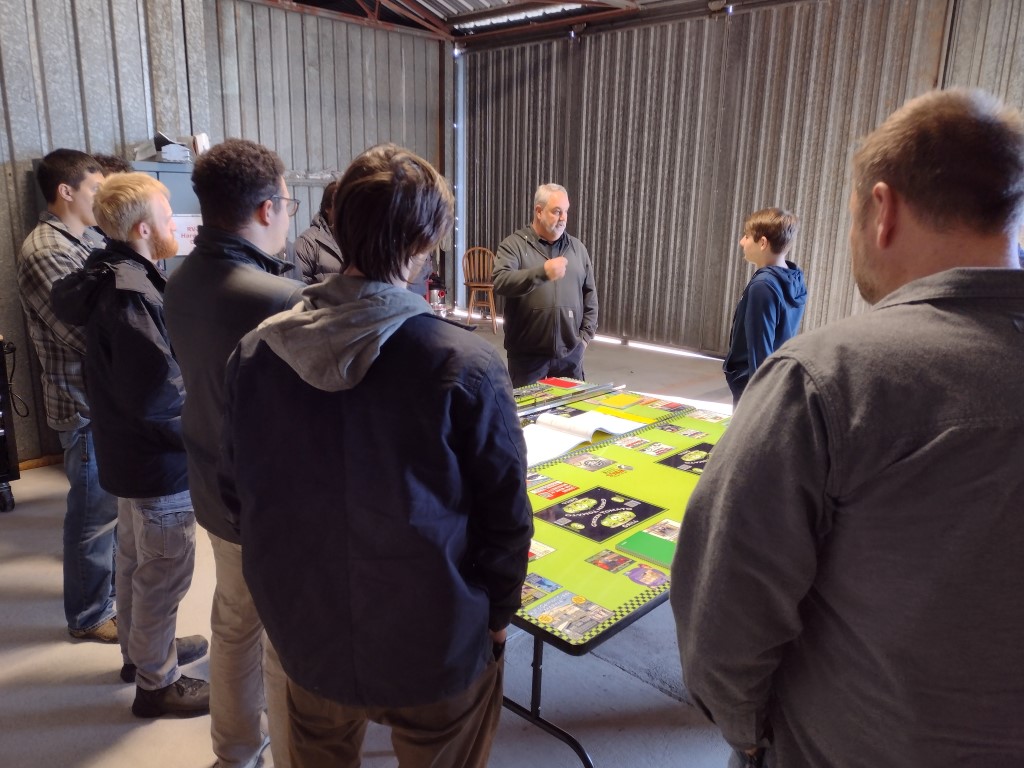
Recapping the importance of accurate documentation of the days work November 16, 2023 -

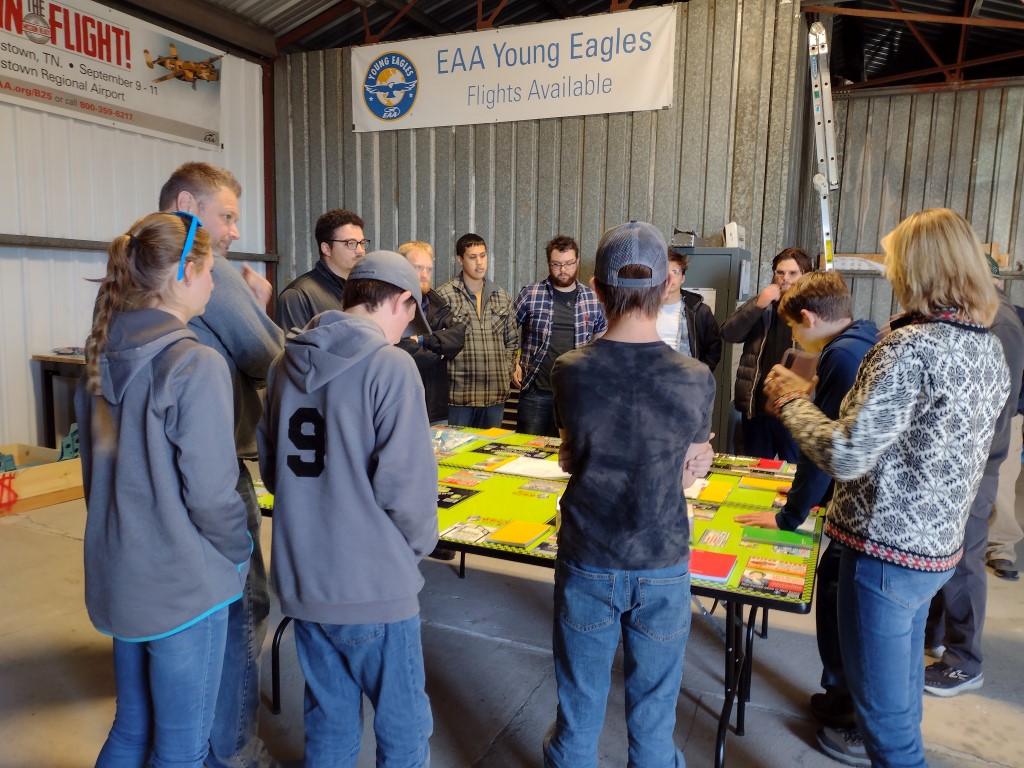
Report out for the day and the safety guidelines our students came up with November 16, 2023 -

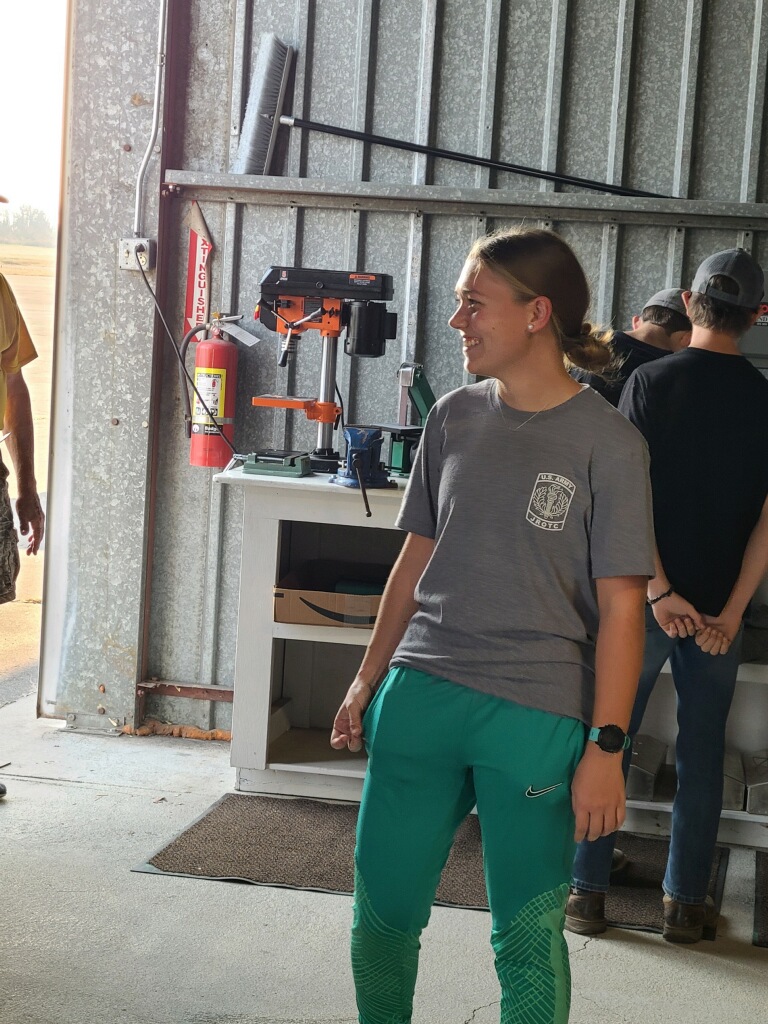
Proof that building a plane can be fun! November 16, 2023 -

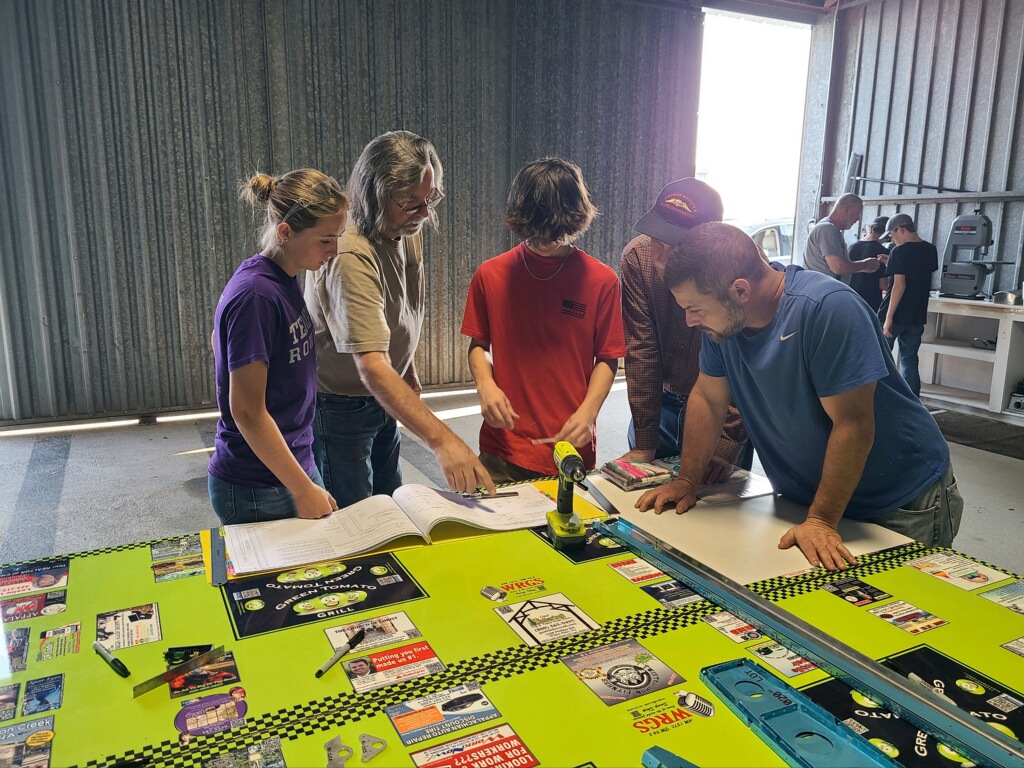
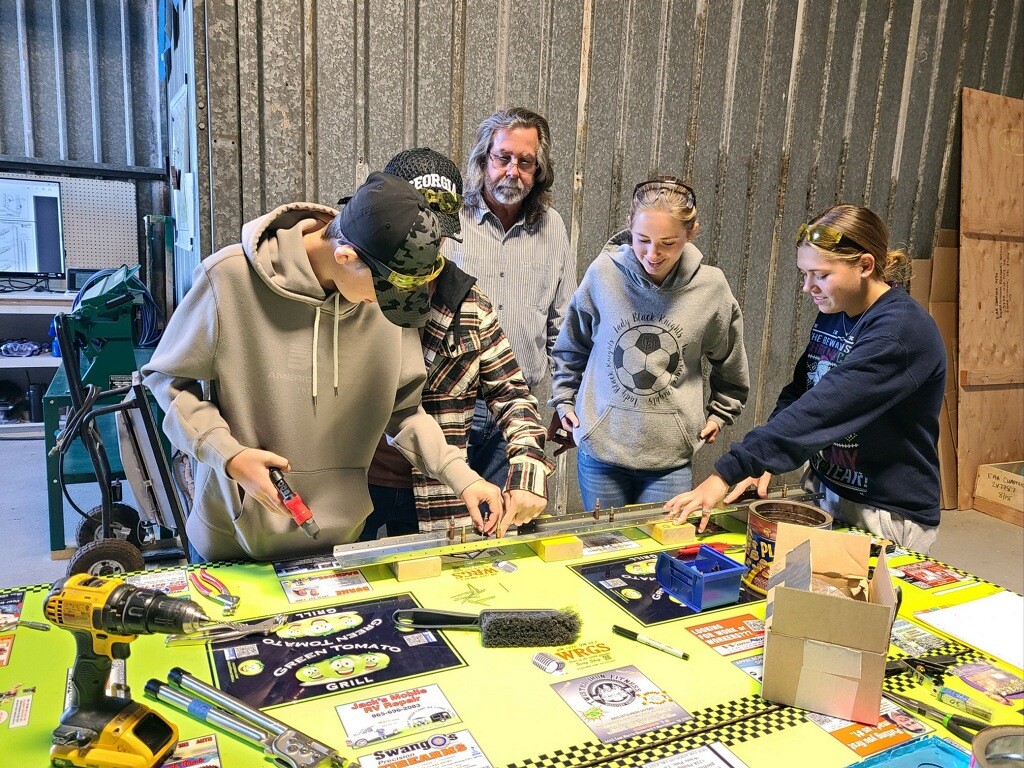
Match-drilling the rear spar December 7, 2023 -

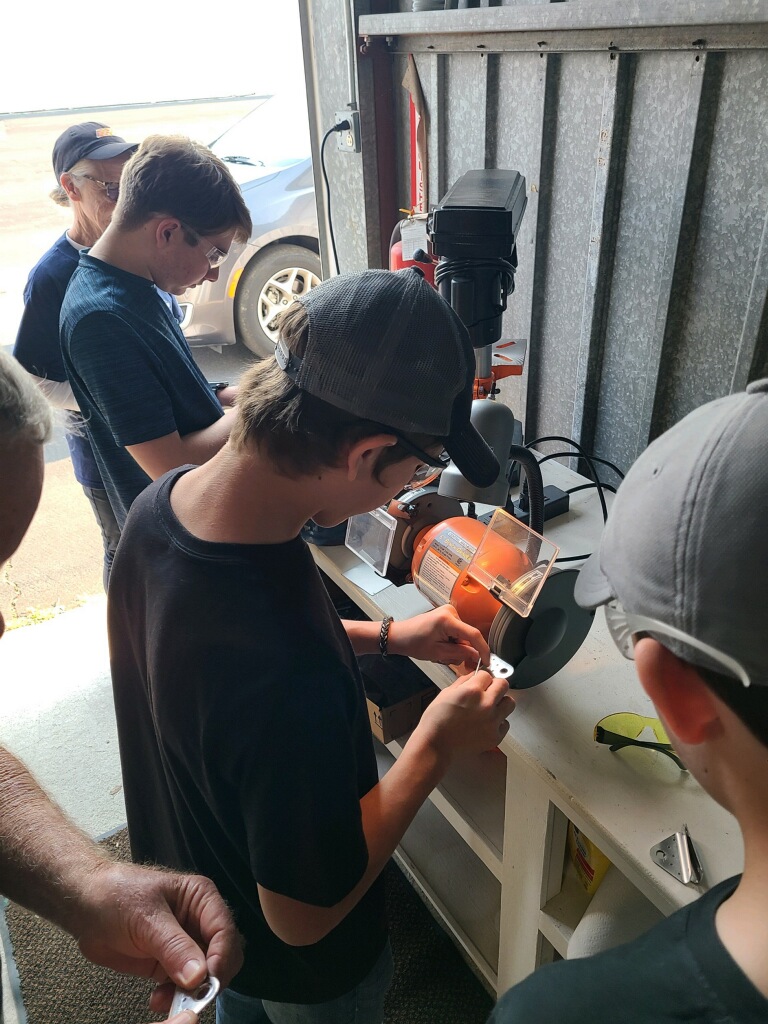
Trey deburring a rib December 7, 2023 -
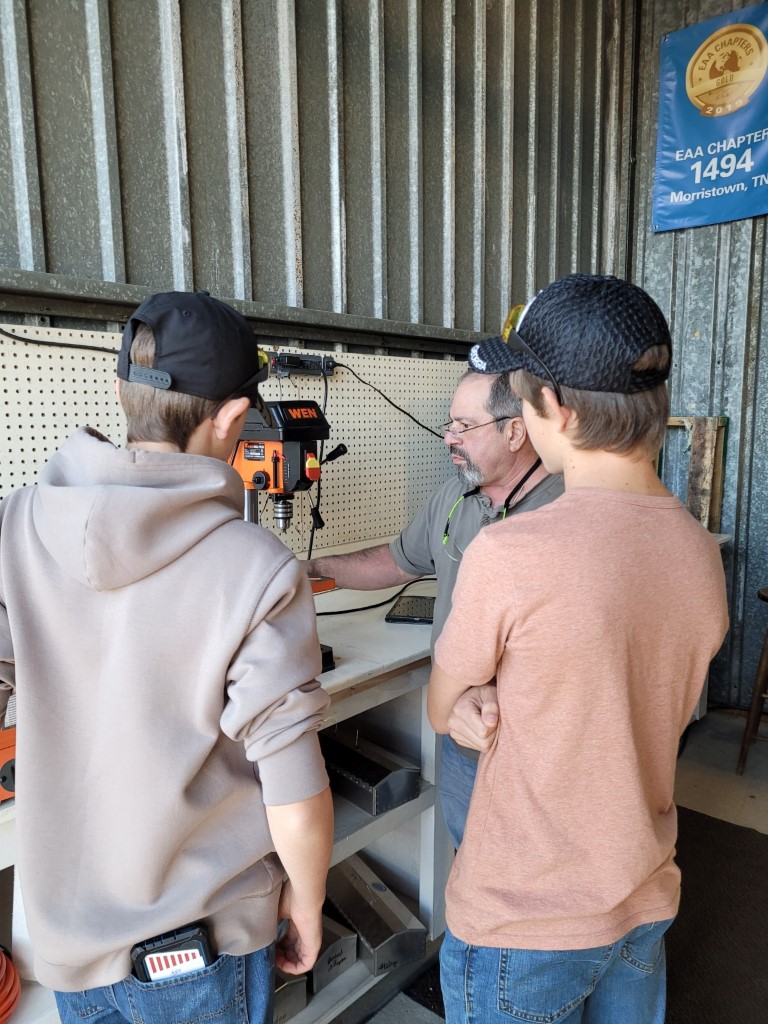
Instruction on set-up and safe operation of the drill press December 7, 2023 -
Rivet assembly of the lower spar caps December 7, 2023 -

Gavin riveting nut-plates to the upper spar caps December 7, 2023 -
Mollie Gavin riveting nut-plates to the upper spar caps December 7, 2023 -
Cleco pre-assembly of spars and ribs December 7, 2023 -

Match-drilling the rear spar December 7, 2023 -

December 7, 2023 -

Students from TCAT and our students sharing their experiences December 7, 2023 -

Steve lecturing on the importance of proper documentation December 7, 2023 -
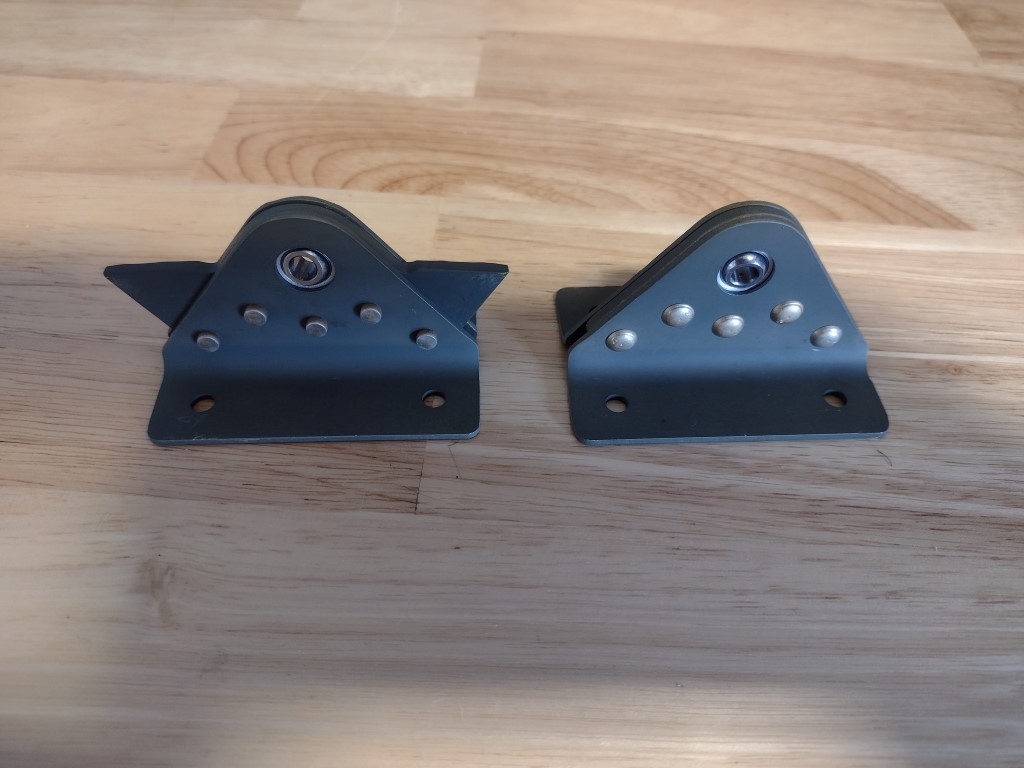
Completed upper and lower hinge assemblies December 7, 2023 -
December 7, 2023 -
December 7, 2023 -
Riveting spar caps to rear spar December 14, 2023